
Edited with AI assistance.
The team page is finished, and then someone new joins. Their portrait needs to fit beside photos made months earlier, perhaps in a temporary office setup nobody recorded. A new hire headshot style guide gives the next session a usable reference. It also gives the employee a clear idea of what to bring, instead of asking them to work out how to match everyone else.
Choose One Reference and Show the Page
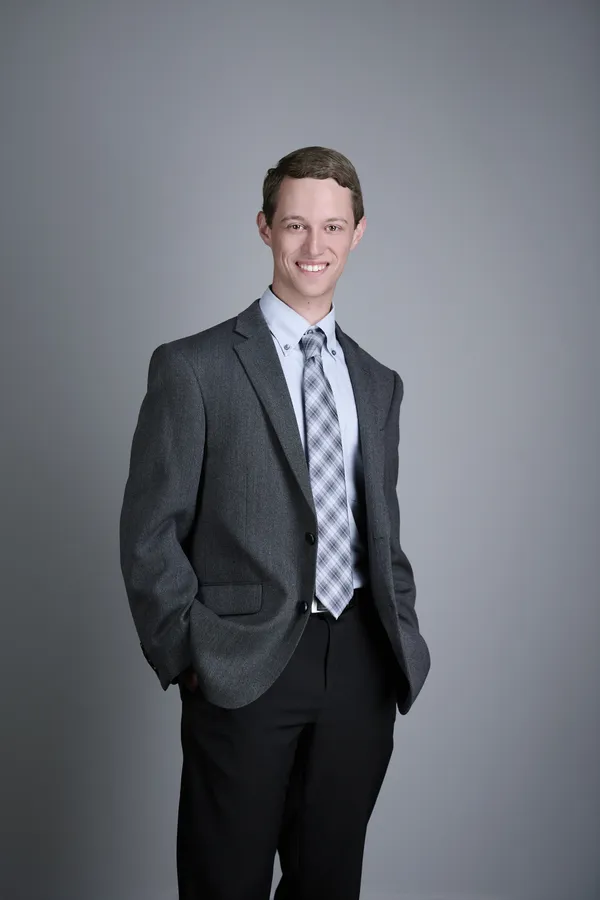
Keep an approved original portrait and a screenshot of the team layout. Identify the visual choices you want to preserve: background, framing, lighting approach and the amount of room around the head.
Explain which details can vary. People can have different clothes, expressions and practical needs while still belonging in the same team grid. The guide should describe a shared photographic approach, rather than asking the new employee to imitate one colleague.
A small website thumbnail may not contain enough information to reproduce the setup accurately. Keep the delivered file and any setup notes the photographer agrees to supply.
Write a Note for the Employee
The employee needs the purpose, preparation and session details. They generally don't need the technical setup document intended for the photographer. Keep the message short and give them a contact for a practical concern.
For example:
We're arranging your photo for the company team page. The attached reference shows the background and crop we're using. Please follow [agreed wardrobe guidance], and tell [contact] about glasses, accessibility needs or other preparation questions. We'll explain how selections and approval work before the session.
Replace the placeholders with the actual plan. If the wardrobe advice isn't agreed yet, resolve it with the photographer rather than presenting a guess as a requirement.
Keep the Approval Route Small and Clear
Decide who chooses the expression and who checks the image against the company layout. Give the subject the agreed opportunity to raise a concern. A clear process can prevent several people from sending contradictory editing instructions.
For later hires, keep the same reference and delivery requirements accessible to the person arranging sessions. That avoids restarting the briefing conversation every time the marketing contact changes.
A useful style record includes:
- The approved reference image and current page layout.
- Background and framing requirements.
- Available photographer setup notes.
- Preparation instructions for the employee.
- Selection, delivery and publication responsibilities.
Preview the Addition Beside the Existing Team
Compare apparent face size, eye position and background treatment after the image is placed on the page. The site may apply a crop that changes the result. Equal pixel dimensions alone won't tell you whether the portraits look consistent together.
Check the person's name, role and approved filename before publication. Keep an old version out of the upload folder if it could be mistaken for the final one.
Discuss exceptions, including remote staff or an urgent temporary image, with the marketing owner. Record what is temporary and who will arrange the next step. Keep the reference, preparation note and approved delivery together so the next person arranging a session can use the same plan.